31 Areas to Consider When Placing Your Guard Tour Checkpoints

Trackforce
June 2, 2022 · 8 min read
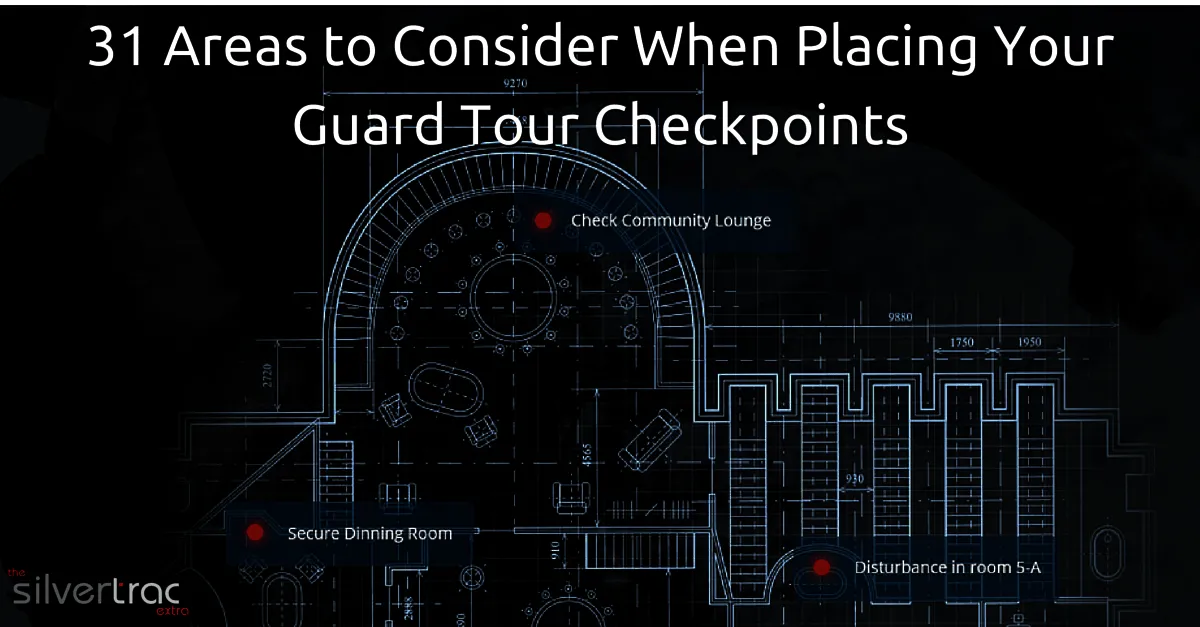
Whether you use traditional guard tour wands, RFID, NFC tags or QR codes, placing checkpoints in the right locations plays a key role in efficient guard tour management. Not sure which technology to use? Compare the options in QR codes vs. RFID and NFC tags for guard tours.
To build an effective checkpoint system in a guard tour system, there are 31 areas to consider: three client priorities, two high-risk areas that call on your expertise, and 26 common interior and exterior locations.
Key takeaways
- Start with the client’s priorities.
Ask about unique circumstances, the things that cost them money and the things that cost them time. - Add your own expertise.
Flag high-risk areas the client may overlook, such as HVAC units or critical equipment. - More checkpoints is not always better.
Focus officers on the areas that matter most so every scan reflects real value. - Cover both interior and exterior risks.
Protect valuable assets and check the places that would otherwise go unseen. - Pick a system that makes checkpoints work harder.
TrackTik turns every checkpoint into verified activity, instructions and client-ready reporting.
What Are Security Guard Checkpoints?
Security guard checkpoints are the locations officers must visit and verify during a guard tour. The best checkpoint plans combine your client’s priorities with your expertise as a security professional.
As a security expert, your job is to see the gaps in your client’s concerns, identify problem areas and map out an effective patrol that covers all the key checkpoints. A comprehensive checkpoint system customized for each client is one of the most important steps in building a guard activity program that sets your officers and clients up for success.
Whether it’s a standing guard post or a mobile vehicle patrol, there are several key locations to mark for guard tours. The list below covers the most common areas, regardless of industry, that cause problems and raise concerns on a property.
Client Priorities (Areas 1 to 3)
An efficient checkpoint system starts with clear expectations from the client. Every client has specific priorities and problem areas, whether that’s securing the pool or checking the gym equipment.
Establishing priorities matters because you don’t want to create more checkpoints than officers can properly complete. Some operators assume more checkpoints mean more accountability, but you will deliver better service when officers can focus on the key areas of the property.
Don’t use checkpoints simply as a way to track officers. Use them to show your client that the work is getting done and that officers are following the instructions behind each stop. A property walk with the client is a great way to uncover these priorities.
Finding Your Client’s Checkpoint Priorities
Each client will have slightly different priorities. To find them, talk with your client about these three things:
- Unique circumstances: Is there anything unique about the location that might change where you place checkpoints? We once had a client who wanted a QR code next to a water fountain, because kids kept filling it with soap that bubbled all over the entry hall. It’s not a common situation, which is exactly why you need to ask.
- Things that cost money: Clients care most about protecting their assets. Check valuable assets and areas of liability.
- Things that cost time: Learn how the property manager spends their day and identify tasks your officers could take off their plate.
High-Risk Areas (Areas 4 and 5)
Your client understands their property well, but you should bring your expertise into play too. There are high-risk and liability areas that you, as a security professional, understand better than the customer.
- High-value equipment: For example, HVAC systems are worth checking because of the value of their copper wiring.
- Critical systems: Pumps, boilers and other equipment that can cause expensive damage if they fail unnoticed.
Placing checkpoints at these locations and explaining why they matter positions you as the expert and shows your value. It can also pay off in a big way. I once had a client with a large, expensive koi pond. Because we regularly checked the pump, we discovered it had failed in time to save the fish, and saved the client nearly $15,000. Working closely with maintenance teams makes these catches even more likely.
Interior Checkpoints (Areas 6 to 18)
Now for the specific places to include in your security tours. Not all of them will apply to every account, but they are a strong starting point for your checkpoint list.
- Main threat areas, such as vaults, teller stations, cash registers or anywhere high-value items are stored (especially important in financial services)
- Elevators
- Stairways, where transients or loiterers may hide and even cook with burners, creating a fire hazard
- Restrooms
- Electrical closets
- Boiler rooms, to confirm temperature gauges are correct
- Furnishings
- Significant obstacles
- Blind spots, or anywhere someone might hide or store dangerous items such as needles
- Approach routes to significant threat areas
- Access to offices or other areas during non-business hours
- Key data areas and places with sensitive information, such as server rooms
- Volatile chemicals or flammable materials
These roughly fall into two categories: valuable assets that need protection, and places that would go unseen if officers didn’t check them regularly.
Exterior Checkpoints (Areas 19 to 31)
For exterior checkpoints, look for access points to valuable assets and areas where people might hide or store dangerous objects.
- The building itself
- Storage structures
- Lighting
- Obstacles
- Landscaping, shrubbery or vegetation
- Common hiding spots
- Entry points, anywhere people might try to gain access outside business hours
- Power sources
- HVAC units
- Parking lots
- Dumpsters
- High-traffic areas during business hours
- Fence lines or gated areas
Remember, you don’t have to check every one of these areas. Avoid creating more checkpoints than officers can handle on patrol. Work with your client and use your expertise to choose the checkpoints that matter most for each location.
Choosing a Guard Tour System
Choosing the right guard tour system is critical. Select software that supports your checkpoint plan and has the functionality you need to support clients and officers.
6 Key Features to Look For in a Guard Tour System
- Real-time incident and activity reporting: The faster you can report incidents, the better. TrackTik incident reporting gives you real-time insight into what’s happening in the field.
- Guard tour monitoring: Visibility into what officers are doing helps you correct issues and optimize your checkpoint plan. TrackTik guard management shows tours, incidents and activity reports live.
- Real-time tracking and data: Your software is only as good as its data. TrackTik business intelligence turns checkpoint scans into dashboards that reduce liability and prove coverage to clients.
- Cloud-based system: A cloud-based guard tour system is ideal for security and data continuity.
- Command center (GSOC): TrackTik Command Center adds real-time visibility into your team’s location, better communication and faster response to threats.
- Real-time notifications: Officers and supervisors need to stay in touch throughout a shift, and the TrackTik guard tour app delivers alerts and instructions right at each checkpoint.
If you are evaluating guard tour software, download The Complete Buyer’s Guide for Physical Security Workforce Management Software, or book a TrackTik demo to see checkpoints in action.
Frequently Asked Questions
Latest Articles


Featured Resources

See Trackforce in action
Book a walkthrough with our team and see how it fits your operation.